Make Your Own Maps
Happy July, Mission Makers! We’re seeing more and more Missions pop up in more and more places, and for this blog entry we want to help your public places look their best as we give you some tips on improving your map-making skills!
This is a guide to help you make some custom edits to your Mission Maps. While packages at the Silver level or higher come with a custom map made by our team, we wanted to provide some quick, 5-minute, do-it-yourself changes that you can make to your maps to provide more customization and better wayfinding for your players!
1) Setting up your Map Preview
The Edit Map page in the Mission Maker has a handy tool you can use to download an image of your exact geofencing boundaries, and add some additional labels.
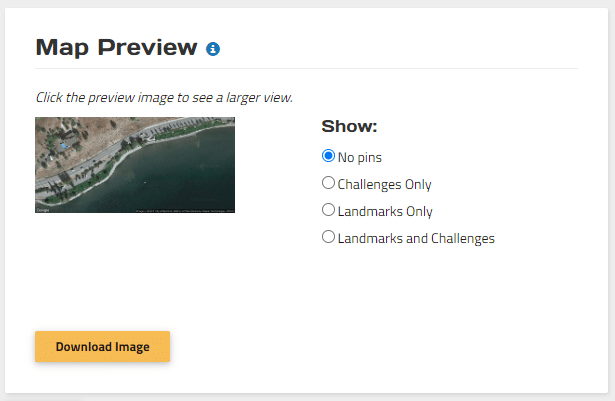
While you’re on the “Edit Map” page, scroll down to the bottom and check out the Map Preview Section. Here, you can download a preview of your map boundaries and add some extra labels.
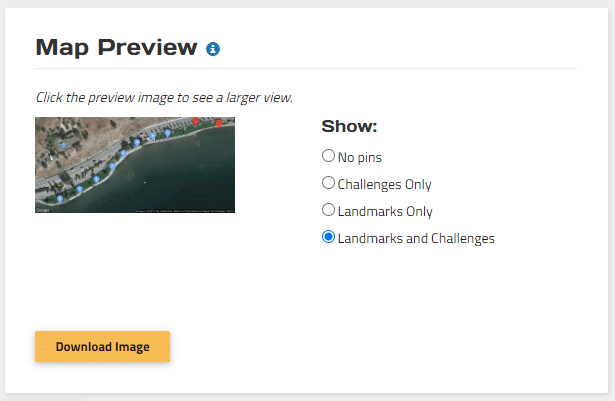
There are four options for labeling:
No pins
This just displays your basic map as players would normally see it.
Challenges Only
This will create blue “pins” that will provide a hint as to the exact locations of your Challenges.
Landmarks Only
This will create red pins to represent any custom Landmarks you have created.
Landmarks and Challenges
This will display both the Landmark and Challenge pins.
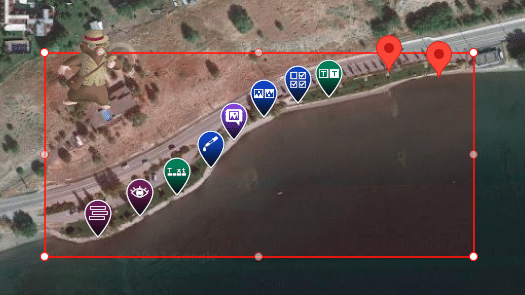
You won’t be able to name your landmarks directly in the Map Editor, but you can do this manually in an editor program like Paint or Photoshop (we’ll cover some examples of this below).
2) Downloading your Map Preview
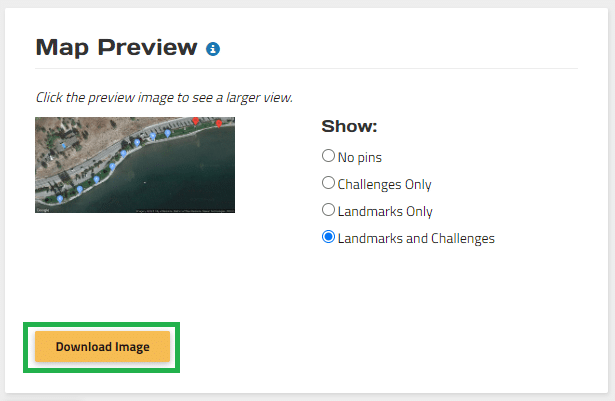
Once the Map Preview is to your liking, you can click “Download Image” to generate a .jpg file of that map, and use it in other editing programs or software to add whatever else you would like!
3) Editing the Downloaded File
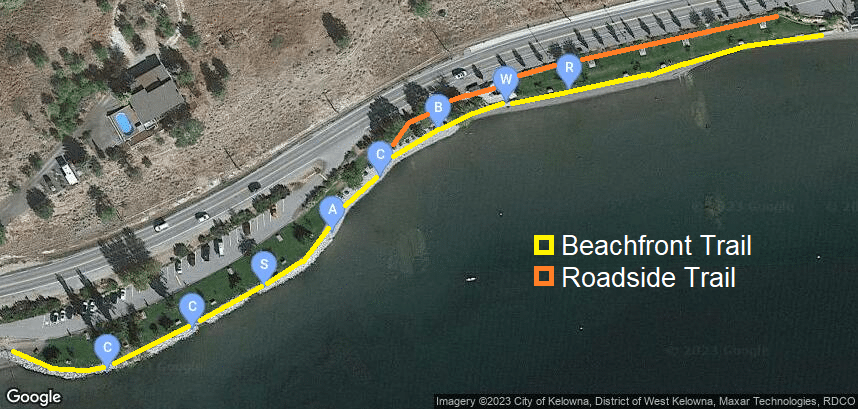
With your map preview downloaded, you can now edit it to your heart’s content using an editor program of your choice!
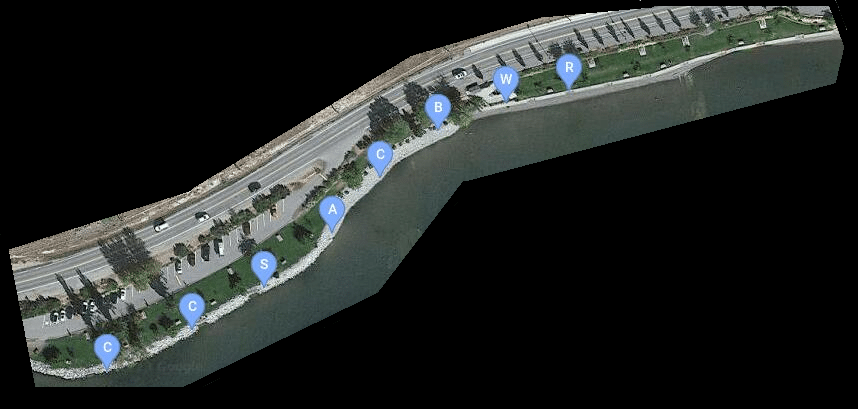
We recommend using Photoshop or Illustrator to make outlines of your walking paths, but here are some examples of quick things you can do even in a program like Microsoft Paint, by drawing high-visibility lines along those paths, or defining your boundaries even further by getting rid of the outside space.
4) Uploading the New Map
Once your new map is ready, come back to the Edit Map section and upload your new map into the “Custom Map” section just to the right of Map Preview. If your resolution and dimensions are unchanged from the original Preview Image, it should fit perfectly within your current boundaries and you won’t need to resize it.
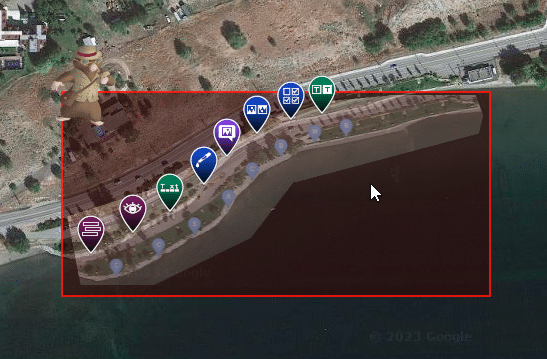
If you need to reposition your map, we’re happy to confirm that the map preview now becomes translucent while you’re dragging and resizing it. This makes it much easier for you to place it over the Google Map.
Questions?
As always, if you have any questions about Mission Making, please feel free to reach out to our customer success team at:
[email protected]
Don’t forget that you can contact us through Live Chat, which is available by clicking the blue “Help” button in the bottom right corner of the page on our website and Mission Maker. Our team is available and happy to help from Monday through Friday, 9:00 – 5:30!
If you haven’t done so already, please be sure to join the Mission Makers Facebook Group where you can connect with other Mission Makers around the world to share content, ideas, and methods for sharing your Missions!
Happy Mission Making!
Regards,
The Agents of Discovery Customer Success Team
