Hieroglyphs

Summer is almost here! If you’re getting back into the mindset of hosting some outdoor fun for your visitors, your timing is perfect as we’ve just added even more cool stuff to the Mission Maker. This month is all about:
Hieroglyphs
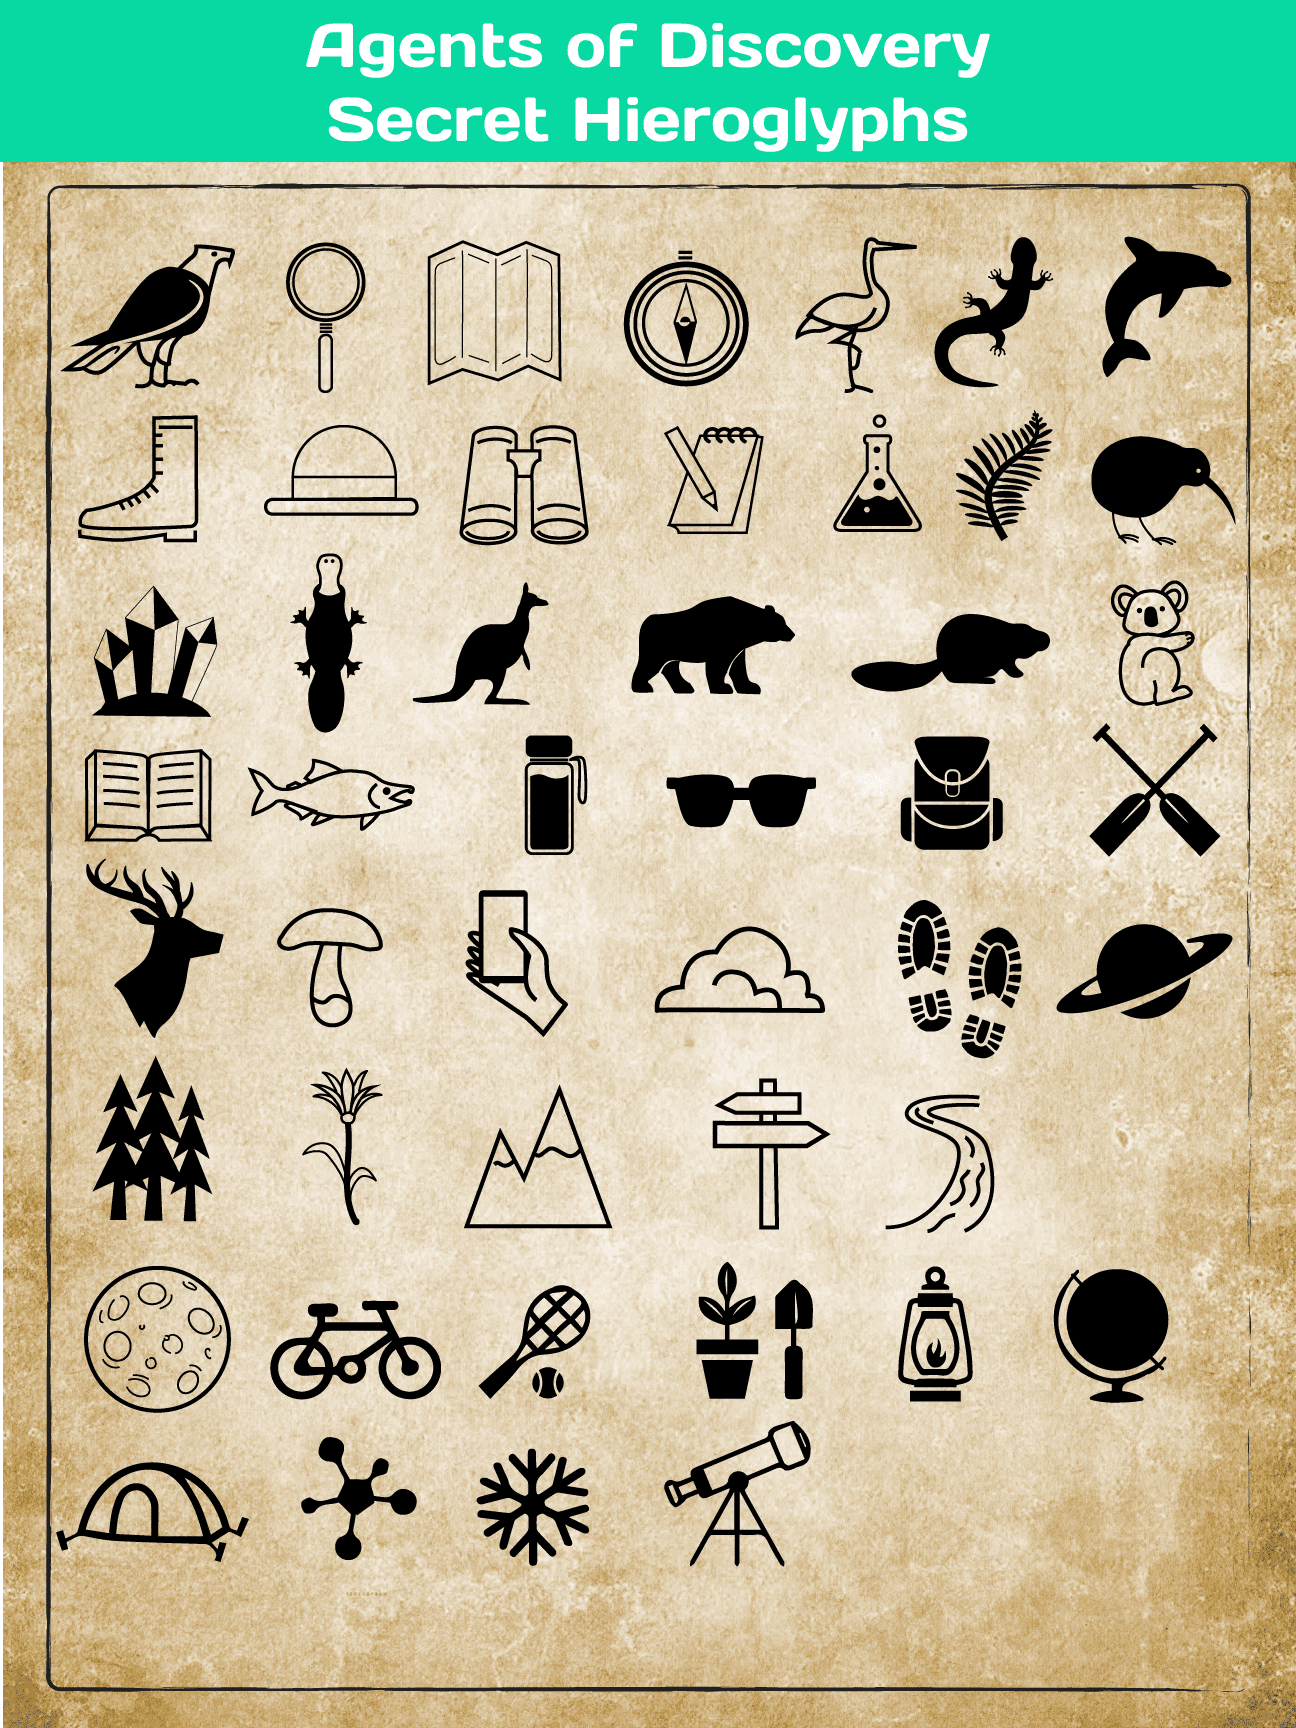
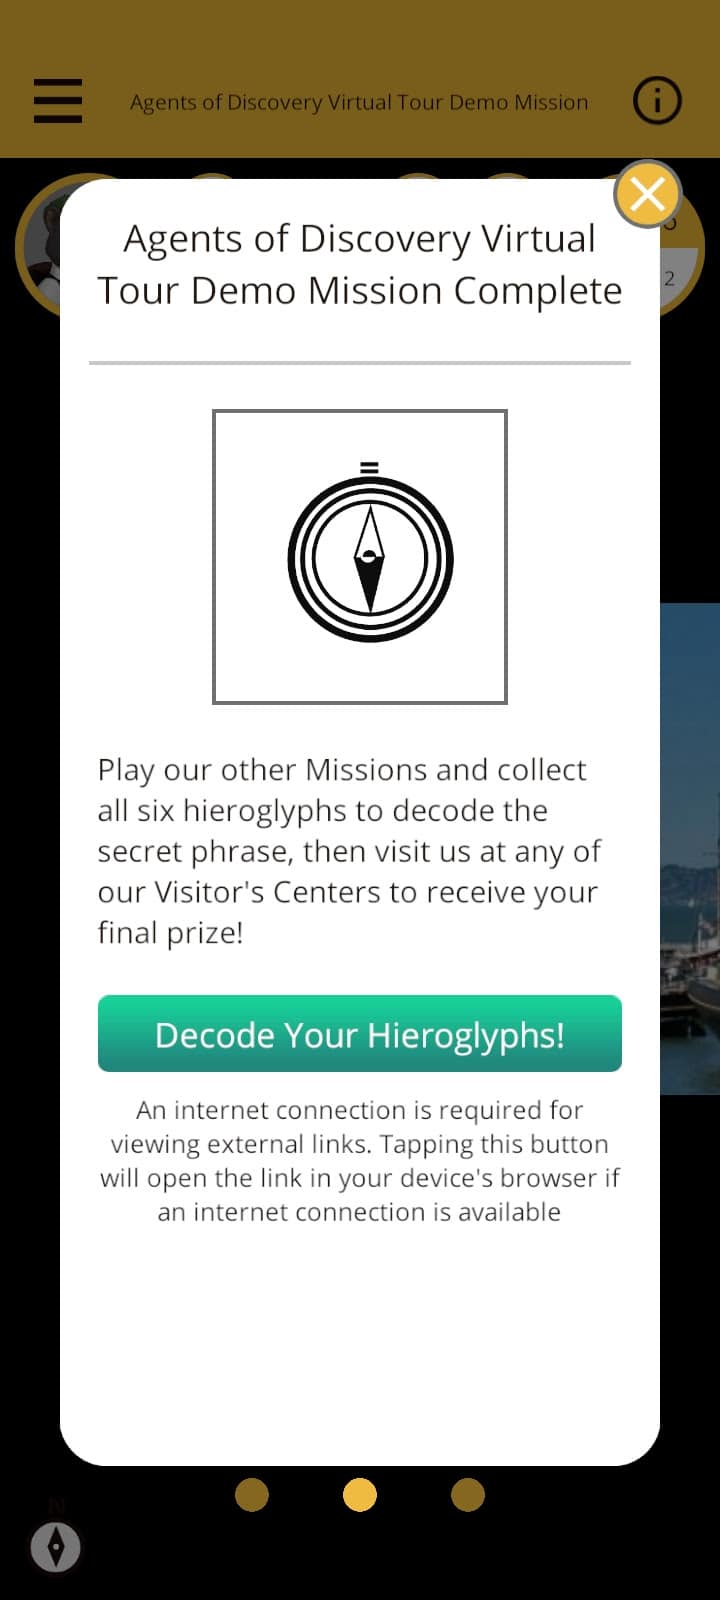
Each symbol in the display above represents a hieroglyph. Each hieroglyph is available as its own reward template when you are putting together your Mission reward. You can award these hieroglyphs to players at the end of your Missions, and once they’ve collected all of them, they can use them to decode hidden words and put together a secret message.
What Do They Mean?
As the Mission Manager, you get to decide what each hieroglyph means. For example, you could set up three Missions that award three hieroglyphs each, and then have each of the nine hieroglyphs represent a single letter, like in the sample below:
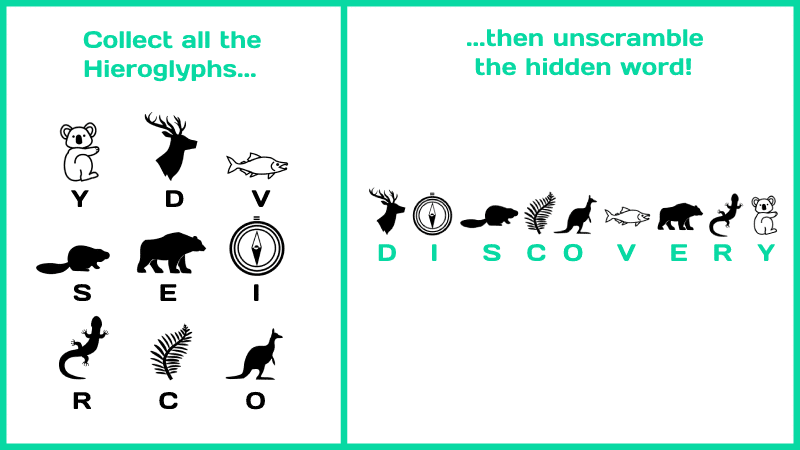
Once the guest collects all these hieroglyphs and rearranges the letters, they just need to rearrange them into the secret passcode that you’ve created!
You can go even further by making each hieroglyph represent a word in a sentence, or making a big decoder sheet using multiple hieroglyphs so your players are required to play the Missions to figure out which ones to use, and which ones to ignore. Here’s another example below:
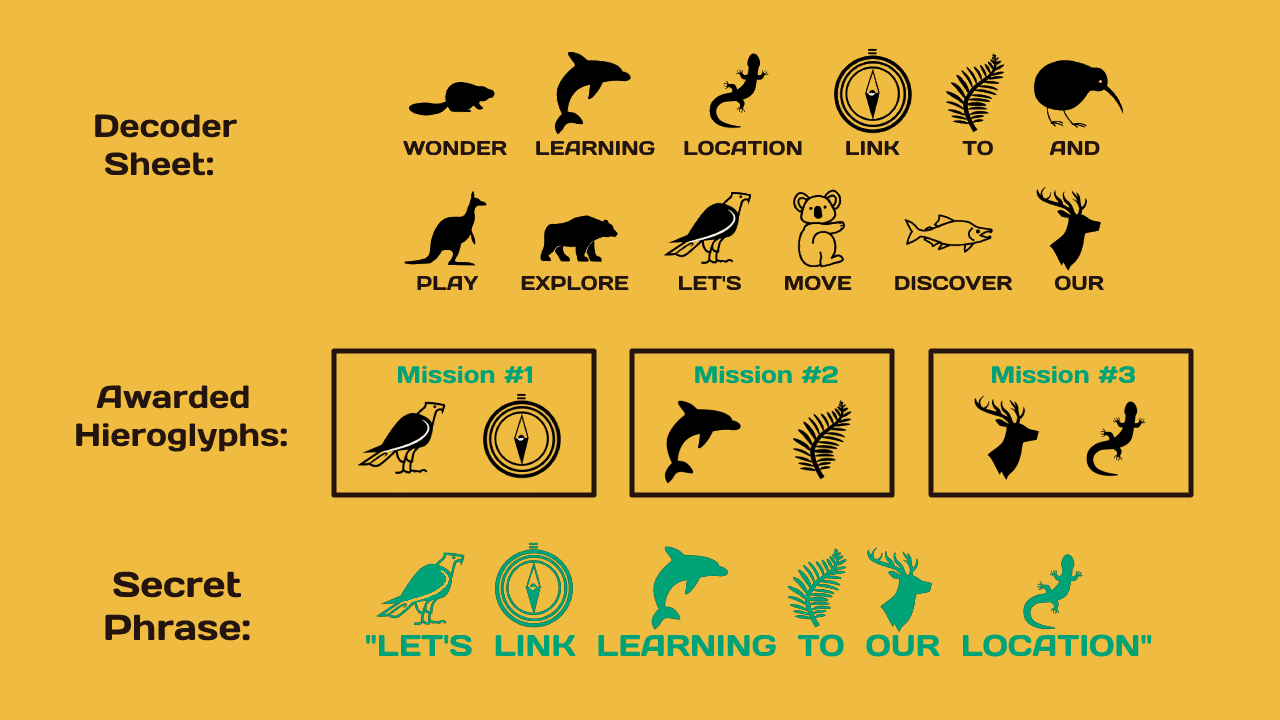
You can then direct your guests to decode the hieroglyphics by clicking on a link to your website. (This will work as long as your players are in an area where they have access to the Internet.)
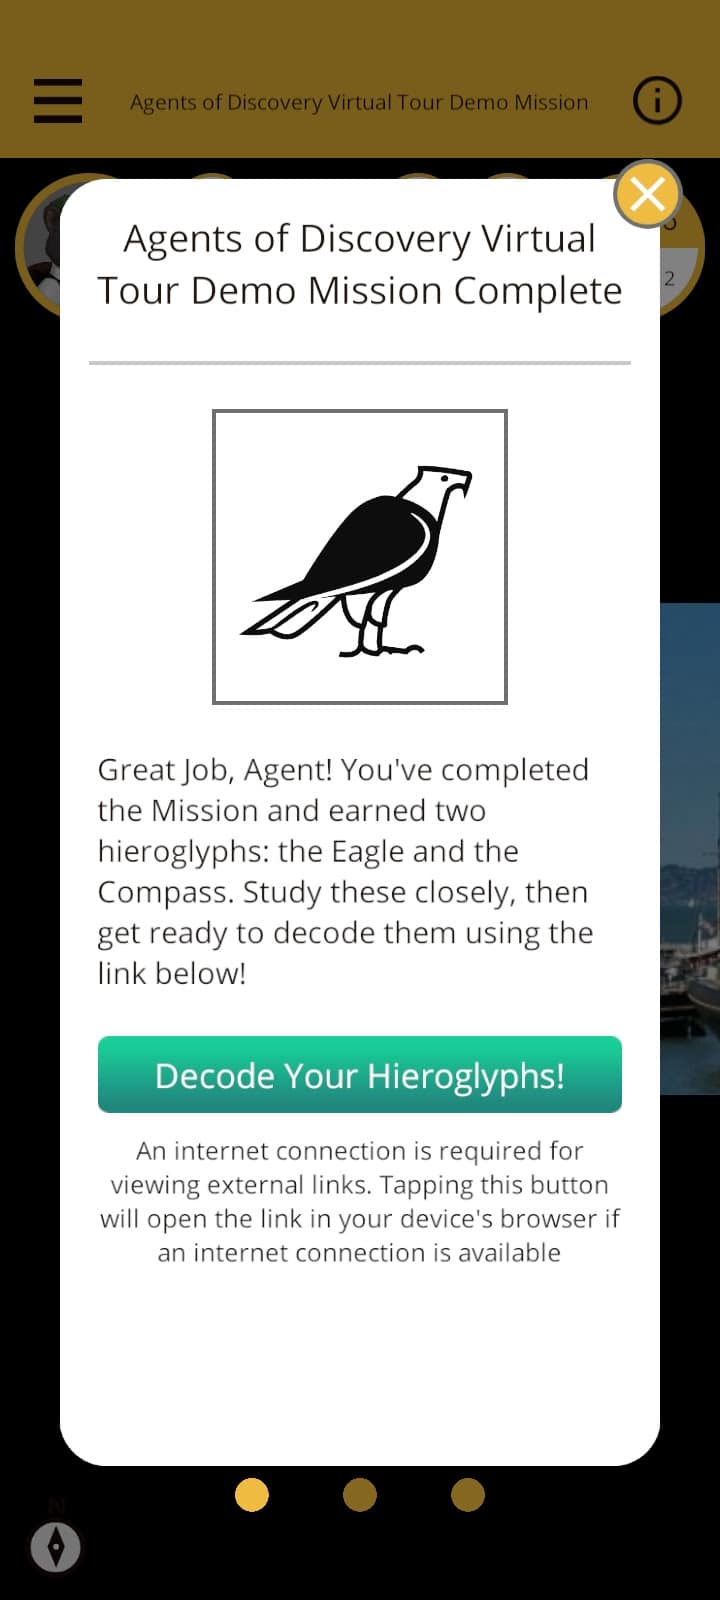
How to Put This All Together?
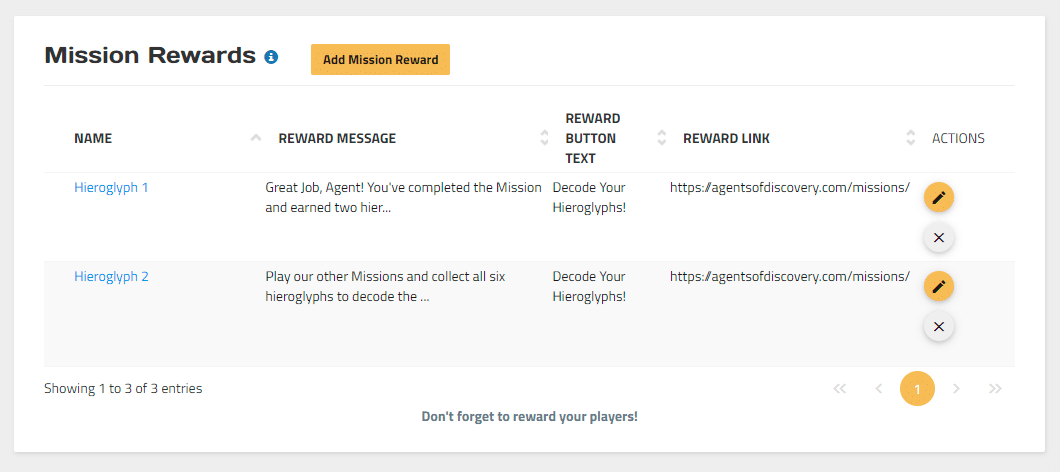
1) On the “Edit Mission” screen of any of your existing Missions (or on the “Create Mission” screen if you’re making a new Mission), scroll down to Mission Rewards.
2) Click Add Mission Reward.
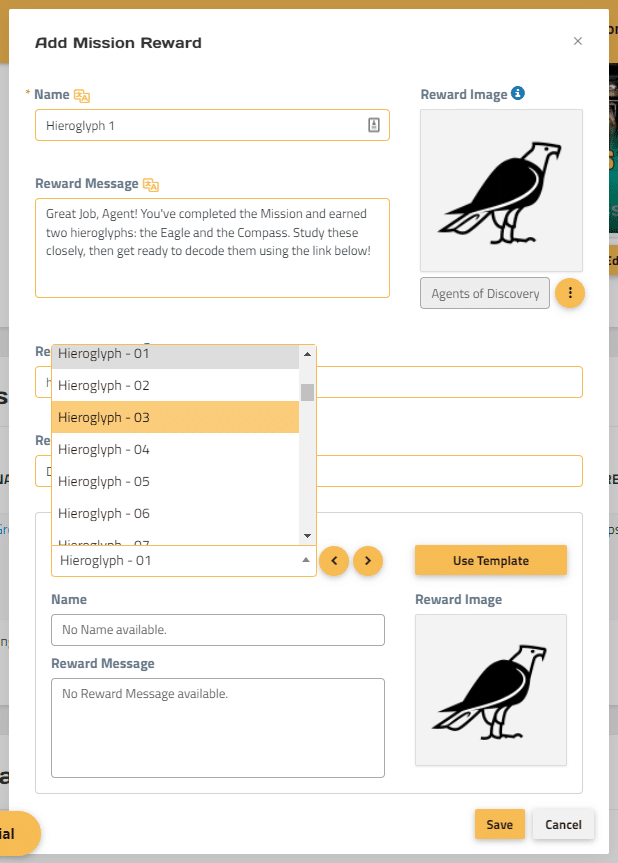
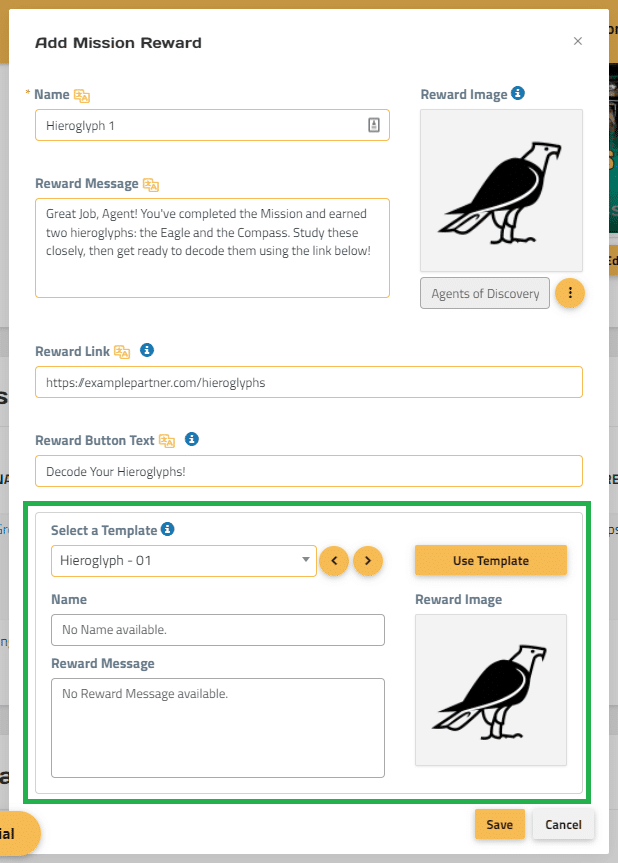
3) Click on the dropdown menu underneath Select a Template.
4) Scroll down to our list of hieroglyphs, and select the one you want to use.
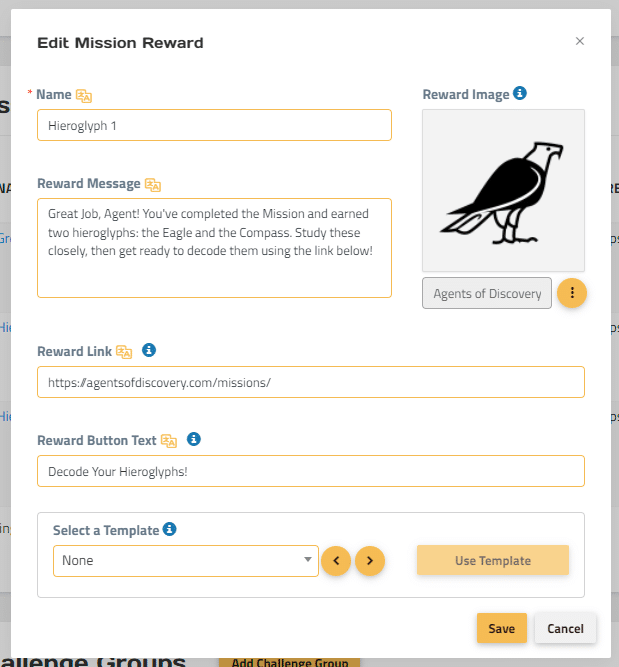
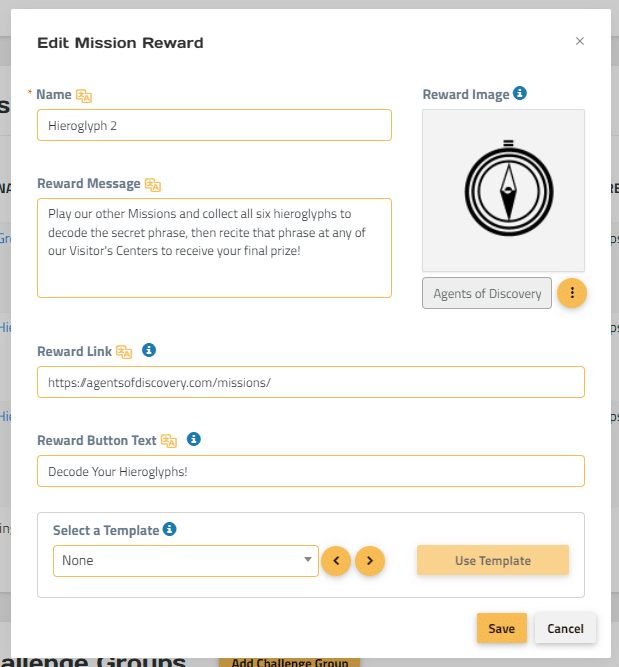
5) In the “Reward Message” field, let the guest know about the hieroglyph(s) they’ve earned and that they can decode a secret message once they’ve collected all hieroglyphs.
6) In the “Reward Link” field, provide the URL to the page on your website where you’ve provided the information about your Mission hieroglyphs.
7) Add a call to action in the “Reward Button Text” field (ex. “Decode Your Message!”)
8) If you have more than one hieroglyph, you’ll need to add a new Reward Message for each Hieroglyph. Your messages will appear in order by their vertical arrangement in the Edit/Create Mission screen.
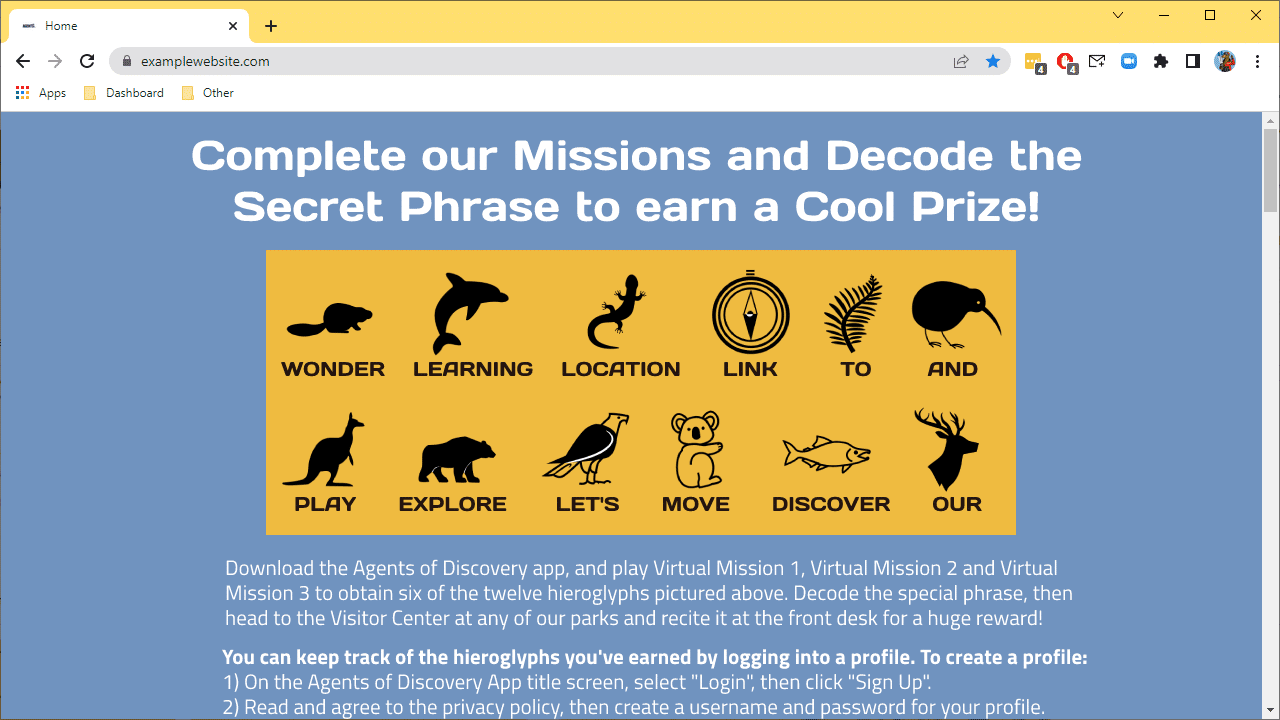
9) On your website, make sure you’ve added a space for your Mission hieroglyphs, and make sure the URL for this page is provided in your Reward Link.
10) To be on the extra diligent side, you can remind the guest on how to create a profile in the Agents of Discovery app and track the hieroglyphs they’ve earned. We’ve provided the steps below for you to copy and paste into the body of your text:
We hope you have fun with this cool new feature!
Questions?
As always, if you have any questions about Mission Making, please feel free to use our Website’s Live Chat, or reach out to our customer success team at:
Alternatively, give us a call at 1-855-564-7328 (ext. 212)!
If you haven’t done so already, please be sure to join the Mission Makers Facebook Group where you can connect with other Mission Makers around the world to share content, ideas, and methods for sharing your Missions!
Happy Mission Making!
Regards,
The Agents of Discovery Customer Success Team
